安装MySQL并配置子账户
1. 环境说明
- 操作系统: Ubuntu 24.04 LTS
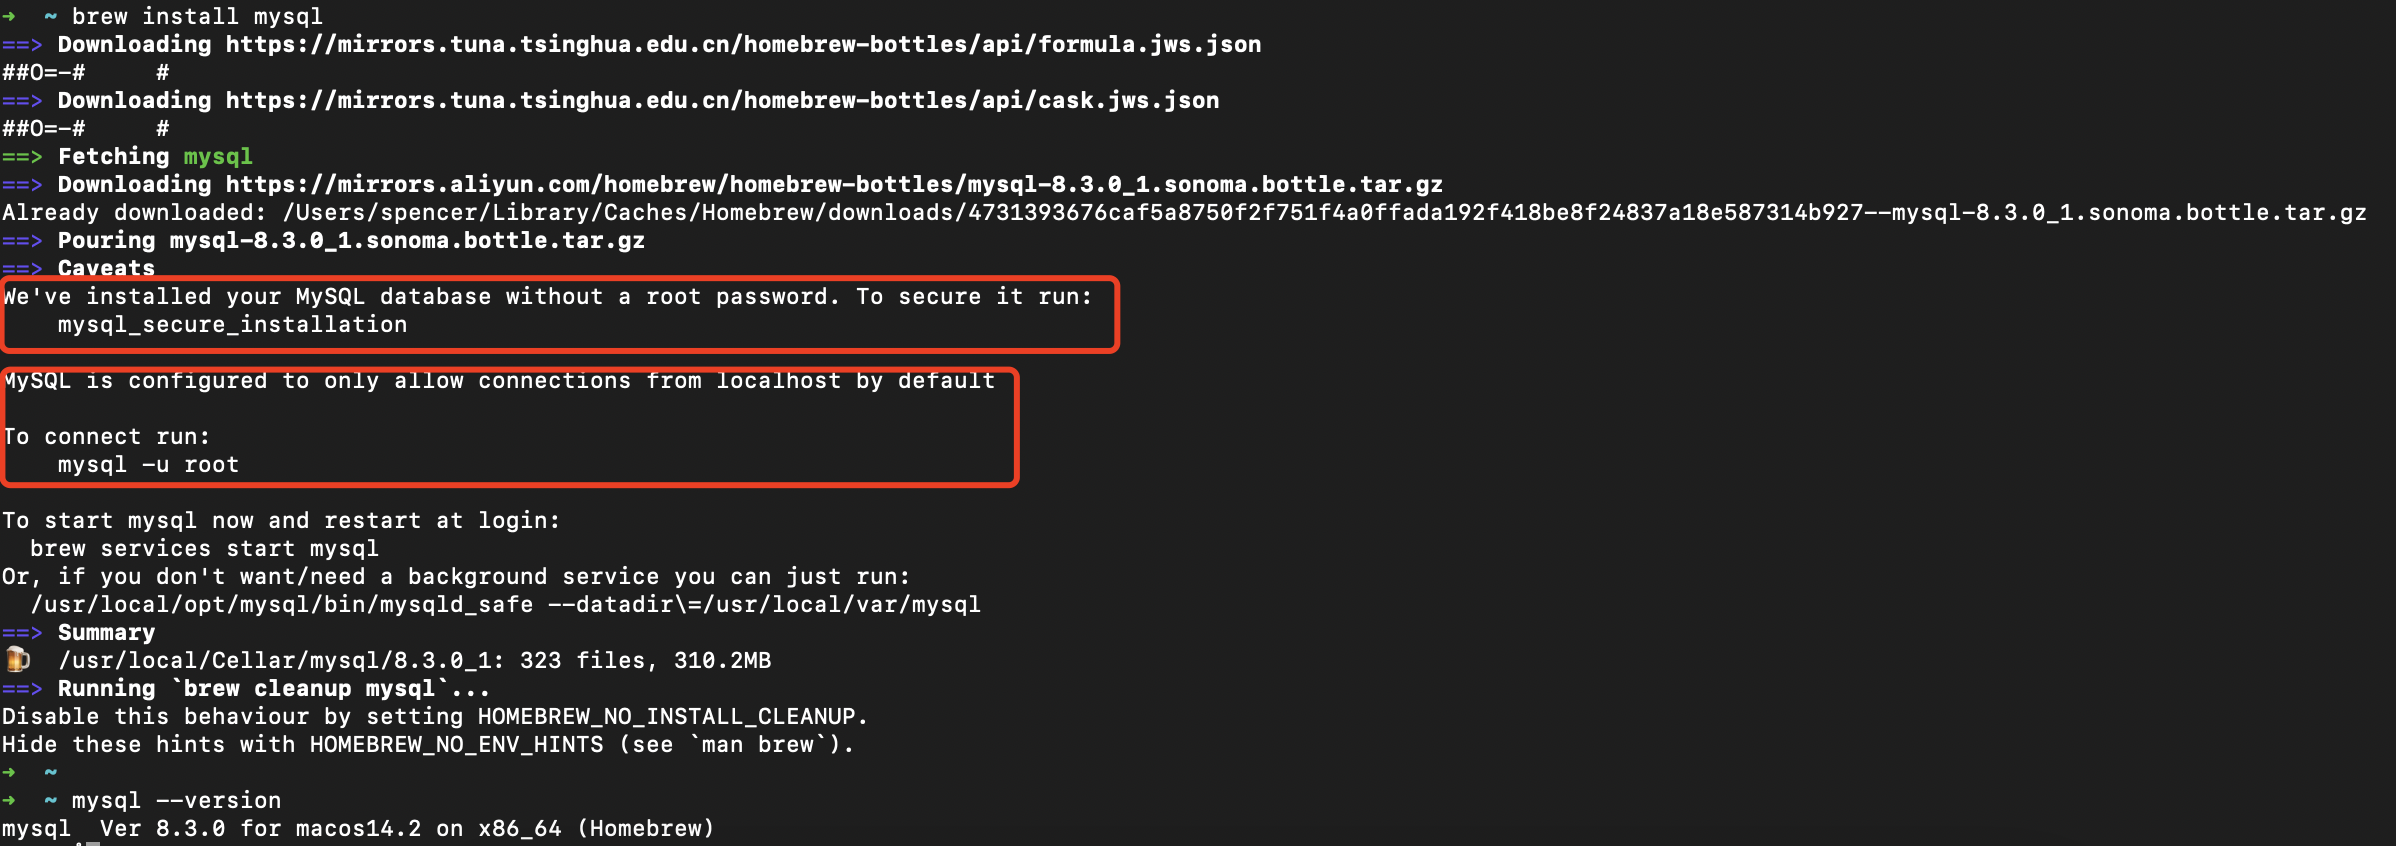
2. 安装MySQL
# 更新软件源和依赖
sudo apt update

# 查看可使用的安装包
sudo apt search mysql-server

# 安装最新版本
sudo apt install -y mysql-server
# 如果不加-y 会在安装过程中,系统将提示你设置MySQL的root密码。确保密码足够强,且记住它,因为你将在以后需要用到它。
3. 启动MySQL服务
# 启动MySQL服务
sudo systemctl start mysql

# 检查MySQL状态(如:服务是否启动成功)
sudo systemctl status mysql

# 将MySQL设置为开机自启动
sudo systemctl enable mysql
4. 设置root密码
4.1. 设置root用户的密码
# 1. 登录mysql,在默认安装时如果没有让我们设置密码,则直接回车就能登录成功。
mysql -u root -p

# 2. 设置密码
# mysql8.0
ALTER USER 'root'@'localhost' IDENTIFIED WITH mysql_native_password BY '新密码';
# mysql5.7
set password=password('新密码');
# 配置IP5.7,  *.* 表示所有数据库的所有表,  @"%" 表示允许任意IP连接
grant all privileges on *.* to root@"%" identified by "密码";

# 3. 刷新缓存
flush privileges;
4.2. 创建子用户并授予指定权限
-- 查看所有用户
select user,host from mysql.user;

-- 创建子用户: spencer, 允许本地连接
create user 'spencer'@'localhost' identified by 'password';

-- 创建子用户: spencer, 允许任意IP进行远程连接
-- create user 'spencer'@'%' identified by 'password';

-- 修改密码
alter user 'spencer'@'localhost' identified by 'password';

-- 查看spencer用户的权限
show grants for 'spencer'@'localhost';

-- 创建数据库:discuss_comment
create database discuss_comment;

-- 授予 discuss_comment 这个数据库的所有数据表的所有权限给 spencer 用户
grant all on discuss_comment.* to 'spencer'@'localhost';

-- 回收权限
revoke all on discuss_comment.* from 'spencer'@'localhost';

-- 刷新系统权限表,即时生效
flush privileges;
5. 连接(登录)数据库
5.1. 连接本地数据库
mysql -uroot -p
5.2. 连接远程数据库
# mysql -h IP地址 -u root -p
mysql -h 120.xx.xx.228 -u root -p
6. 常用命令
# 显示所有数据库
show databases;

# 创建数据库
create database 数据库名;

# 删除数据库
drop database 数据库名;

# 选择数据库
use 数据库名;

# 显示当前数据库中的所有表
show tables;

# 创建表
create table 表名 (字段名 字段类型, 字段名 字段类型);

# 删除表
drop table 表名;

# 显示表结构
desc 表名;

# 显示表数据
select * from 表名;